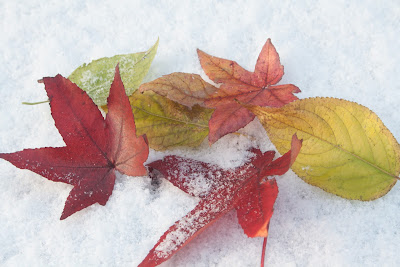
Having chosen the final set of images for my Nature Portfolio it is relevant to describe the steps that I have taken to create the final image of one of these pictures.
There are a couple of steps that were taken as standard with the images to make sure that they are all A3 sized (420 mm x 297 mm at 300 dpi). This was achieved easily within Photoshop by setting the dimensions of the crop tool and cutting the image to make the final image the correct size.
The next step that was to make sure that a background copy of the original was established to protect the base image.
Looking at certain features I decided to remove the stem on the leaf (top left hand side) and to fill in the snow gap in the centre slightly.
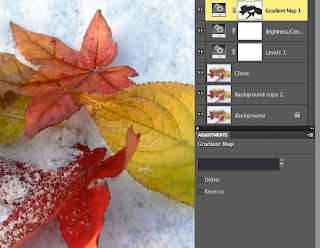
The image looked a little flat and I wanted to increase the vibrancy of the colours. Rather than just increase vibrancy in a vibrancy level, I chose to check the levels and took a dropper onto a section of snow to increase the brightness.
This did make the image a little too dark, so I added another adjustment layer to adjust the brightness and contrast. I increased the brightness slightly (+11) and reduced the contrast quite a lot (-30). However, whilst this had the desired effect on the leaves, it blew out the snow, which then needed addressing, as it was simply too bright and lacked detail.
I wanted to darken the image a little so I added a gradient map and then using the eraser tool, removed the leaf detail from this layer. This had the effect of allowing me to work on the snow and the snow alone.
Arriving at the final image as below.


Hi
ReplyDeleteA good evidenced blog about you own digital workflow for this theme, that great no need to do any more here.
Steve